

Pedal through the chaos, coast through the calm, and always keep your balance.
With over fifteen years in the bicycle industry,
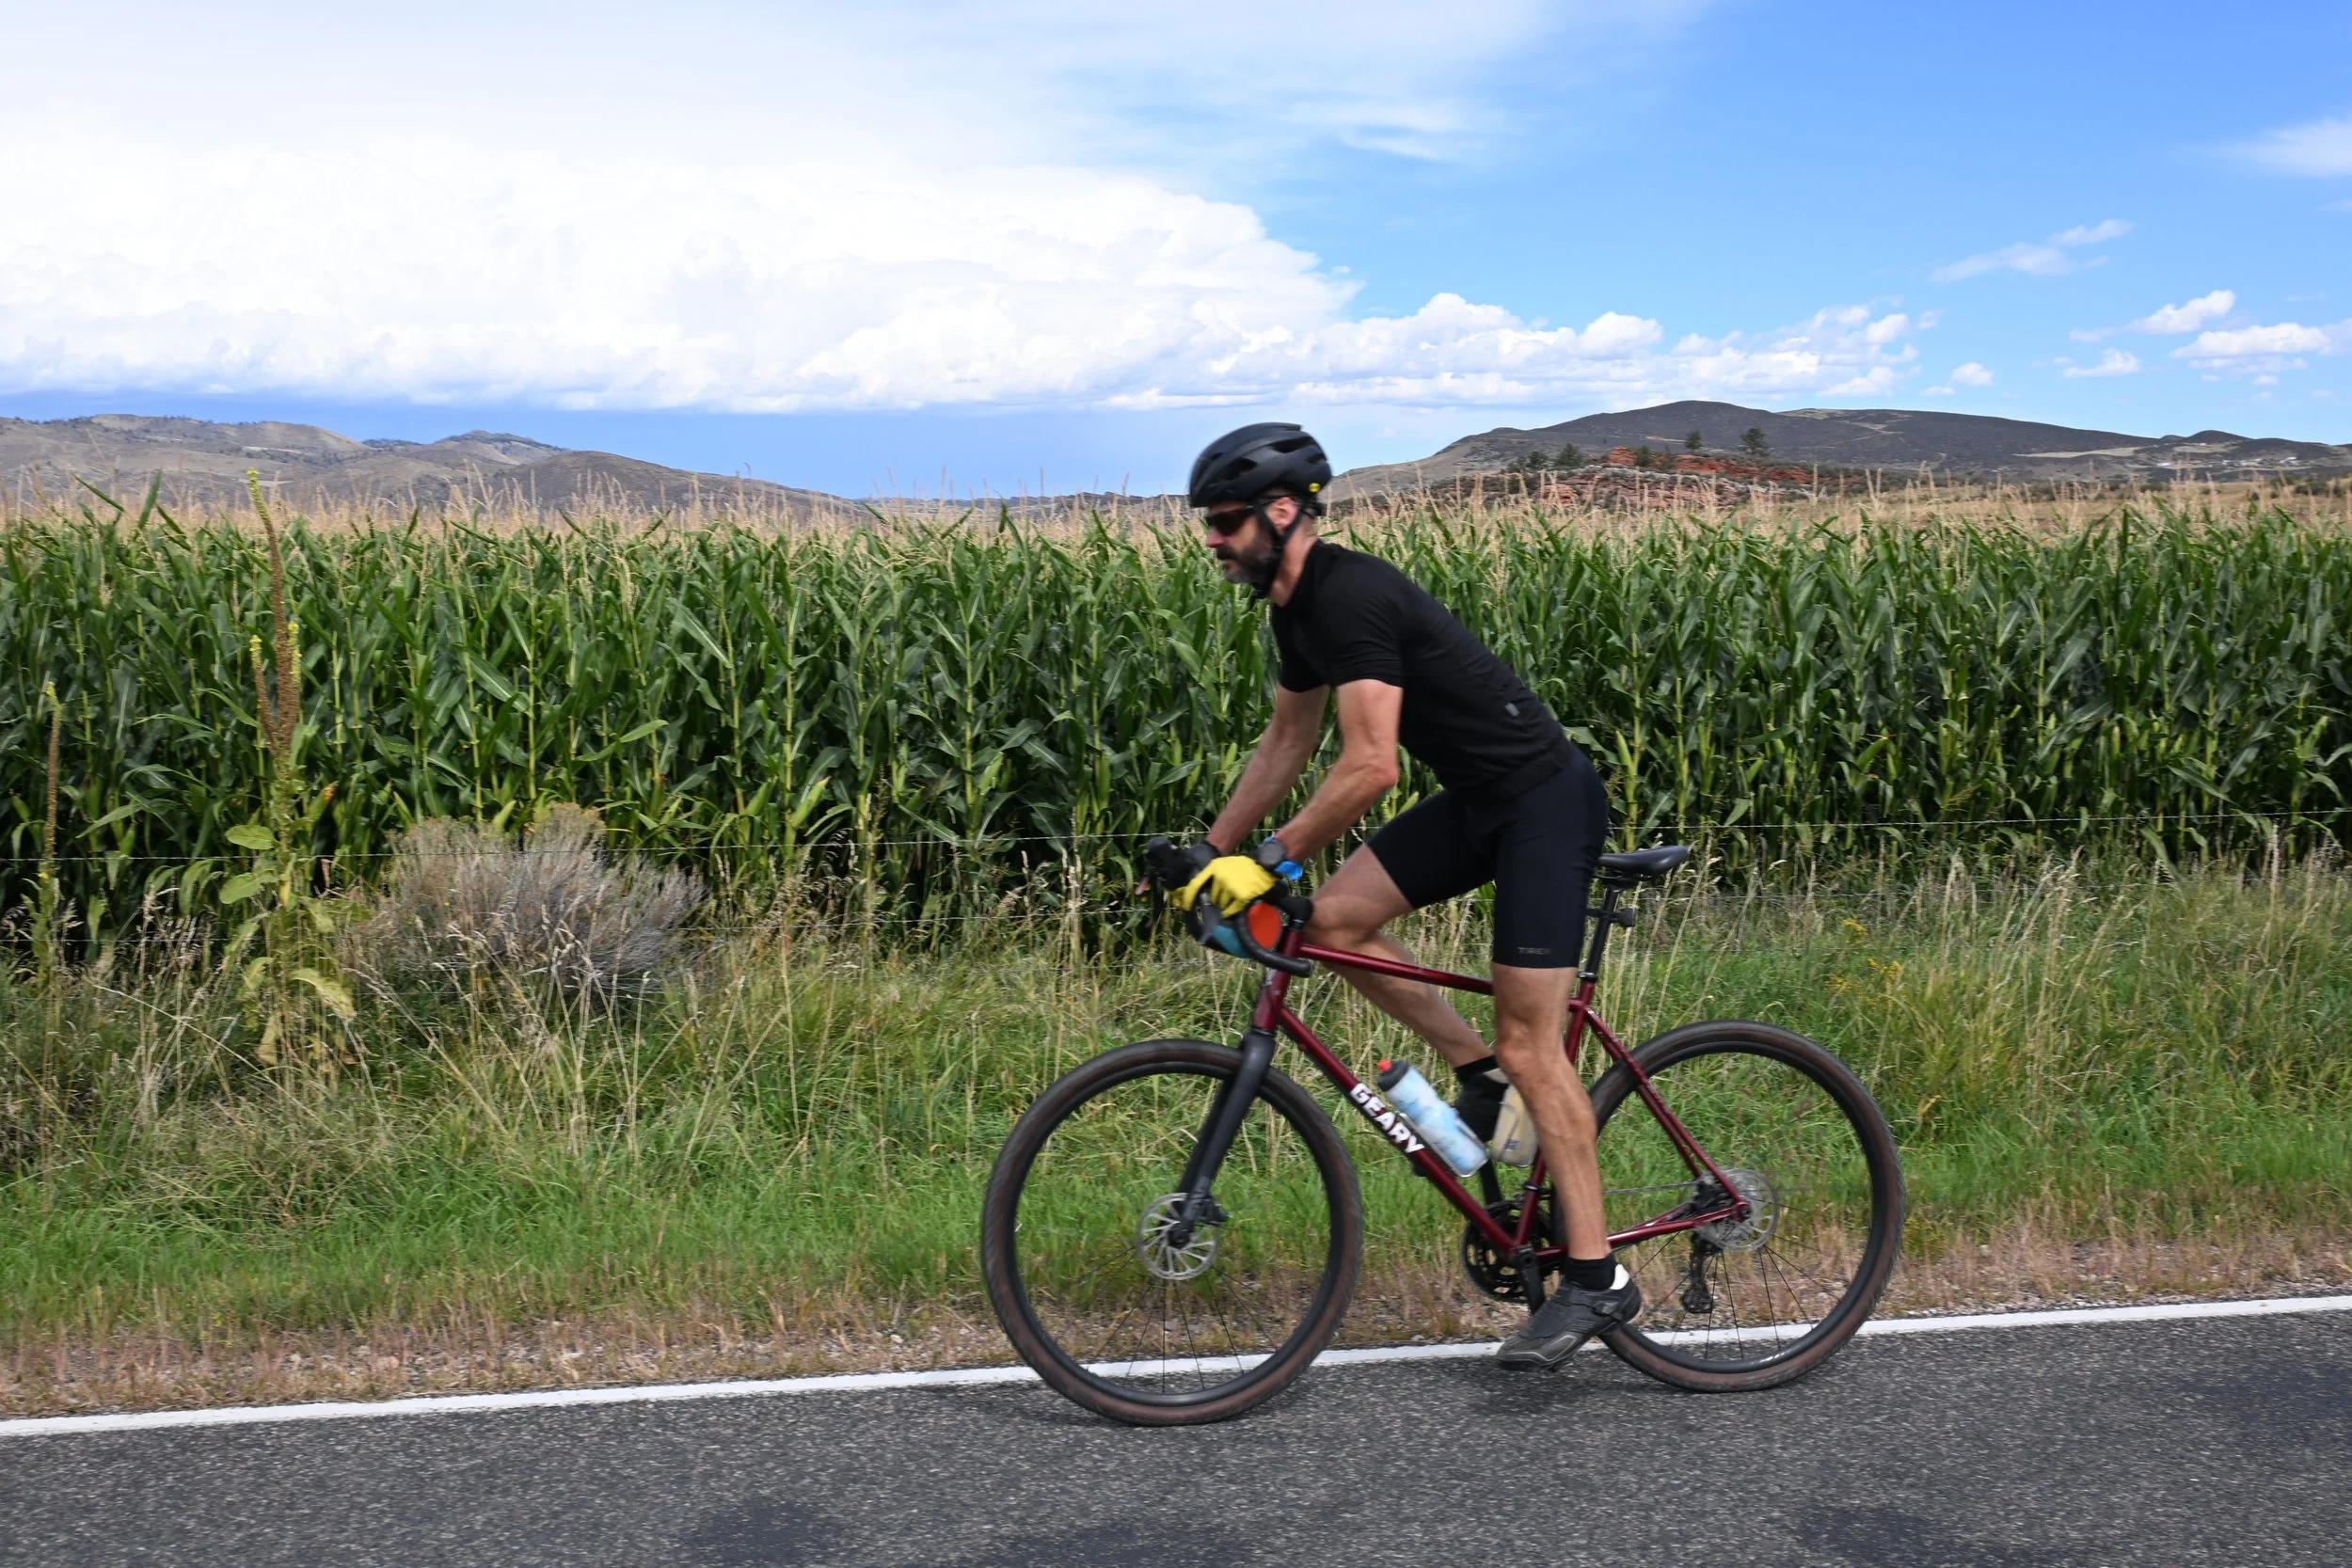
Corbin Geary is a true master of his craft.
From his tenure at a big brand bike shop to his role designing and building bikes at the biggest titanium bike manufacturers in the country, Corbin has honed his skills in every aspect of bike building, fitting, and customer service.
His expertise in design, fabrication, and mechanics ensures that each GEARY bike is a perfect blend of innovation and craftsmanship.
When you choose a GEARY bike, you're investing in a personalized riding experience built for the long haul, on a foundation of passion and expertise.
Let’s Start With a conversation
We all want something a little different from our bike. You might want a bike that feels ready to sprint out of corners, others want a bike that eases into each curve. From haulin’ the mail to hauling the weeks groceries, every body needs their bike to do something special. That’s why we start each custom bike frame build with a conversation with you.
What do you want your bike to feel like? How do you want the bike to feel as you ride it? What are the unique needs of your body that you need a bike to reflect? We’ll walk through all of this and more as we build a bike that’s for you and you alone.
Not sure where to start?
Take a look at our four bike frames and find something that speaks to you. Whether you’re ready to rip down a gravel lane, tackle some single track, or roll through town, we’ve got a bike frame that serves as your blank canvas.

Design and Planning
After conversations about where and how you ride your bike, we’ll finalize the specifics and complete the CAD design work. Then a commercial printer creates a full-scale print of the bike, including all relevant measurements and angles. I lay the drawing out on a fixture table and cut all the tubing to fit

Beginning Frame Assembly
I place the tubes for the front half of the bike in the frame fixture, which holds everything firmly and accurately in place and has scales and degree references machined into it. I then finish all the welds on the front of the bike

Rear Triangle Construction
After welding the front half, I cut and bend the tubing for the seat stays (tubes that extend from the seat tube to the rear wheel) and chain stays (tubes that run roughly parallel to the chain from the rear wheel to the bottom bracket). I weld the stays to the brace, making two more small sub-assemblies

Precision Alignment
The chain stay assembly is placed in a custom-made fixture and clamped into my milling machine. This holds everything solidly while I cut the ends to make it fit perfectly to the rest of the bike. The same process is done with the seat stay assembly, using another custom-designed fixture

Final Frame Welding
The chain stay and seat stay assemblies are placed in the frame fixture and welded in place. Welding the sub-assemblies in this specific order reduces warping and drawing, allowing for perfectly aligned frames with little to no post-weld alignment necessary. This creates a stronger, more durable bicycle

Custom Details
After removing the frame from the fixture, I braze on small parts such as water bottle cage mounts, rack and/or fender mounts, head tube reinforcing rings, reinforcements around holes for cables or wires, and any other custom mount points requested by the customer

Mechanical finishing
I then ream, face, and tap all the important parts of the bike, getting it completely ready mechanically before moving on to paint

Paint and Finish
The bikes are painted in-house with the customer's chosen color. Typically, I use an automotive-style three-stage paint process consisting of primer, base color, and clear coat
Final Assembly
After painting and curing, I install the headset bearings and fork, bolt in the through axles, and put the seat post clamp on. This frameset can be shipped out ready for you to complete the build of your dreams or I can build the bike with everything and ship out a complete bike.